 Help
Write the document body
Choose Default or Employment Verification to display Content. Click in the editor and enter the document’s complete wording. Use the toolbar to format headings, paragraphs, emphasis, lists, links, and tables where the corresponding tools are shown. Select text before applying formatting; put the cursor where a new block or tag belongs before inserting it.
The editor content is the document, while Accepted line is the checkbox explanation below it. Keep those separate: a long authorization belongs in Content; a short “I understand and agree…” statement belongs in Accepted line.
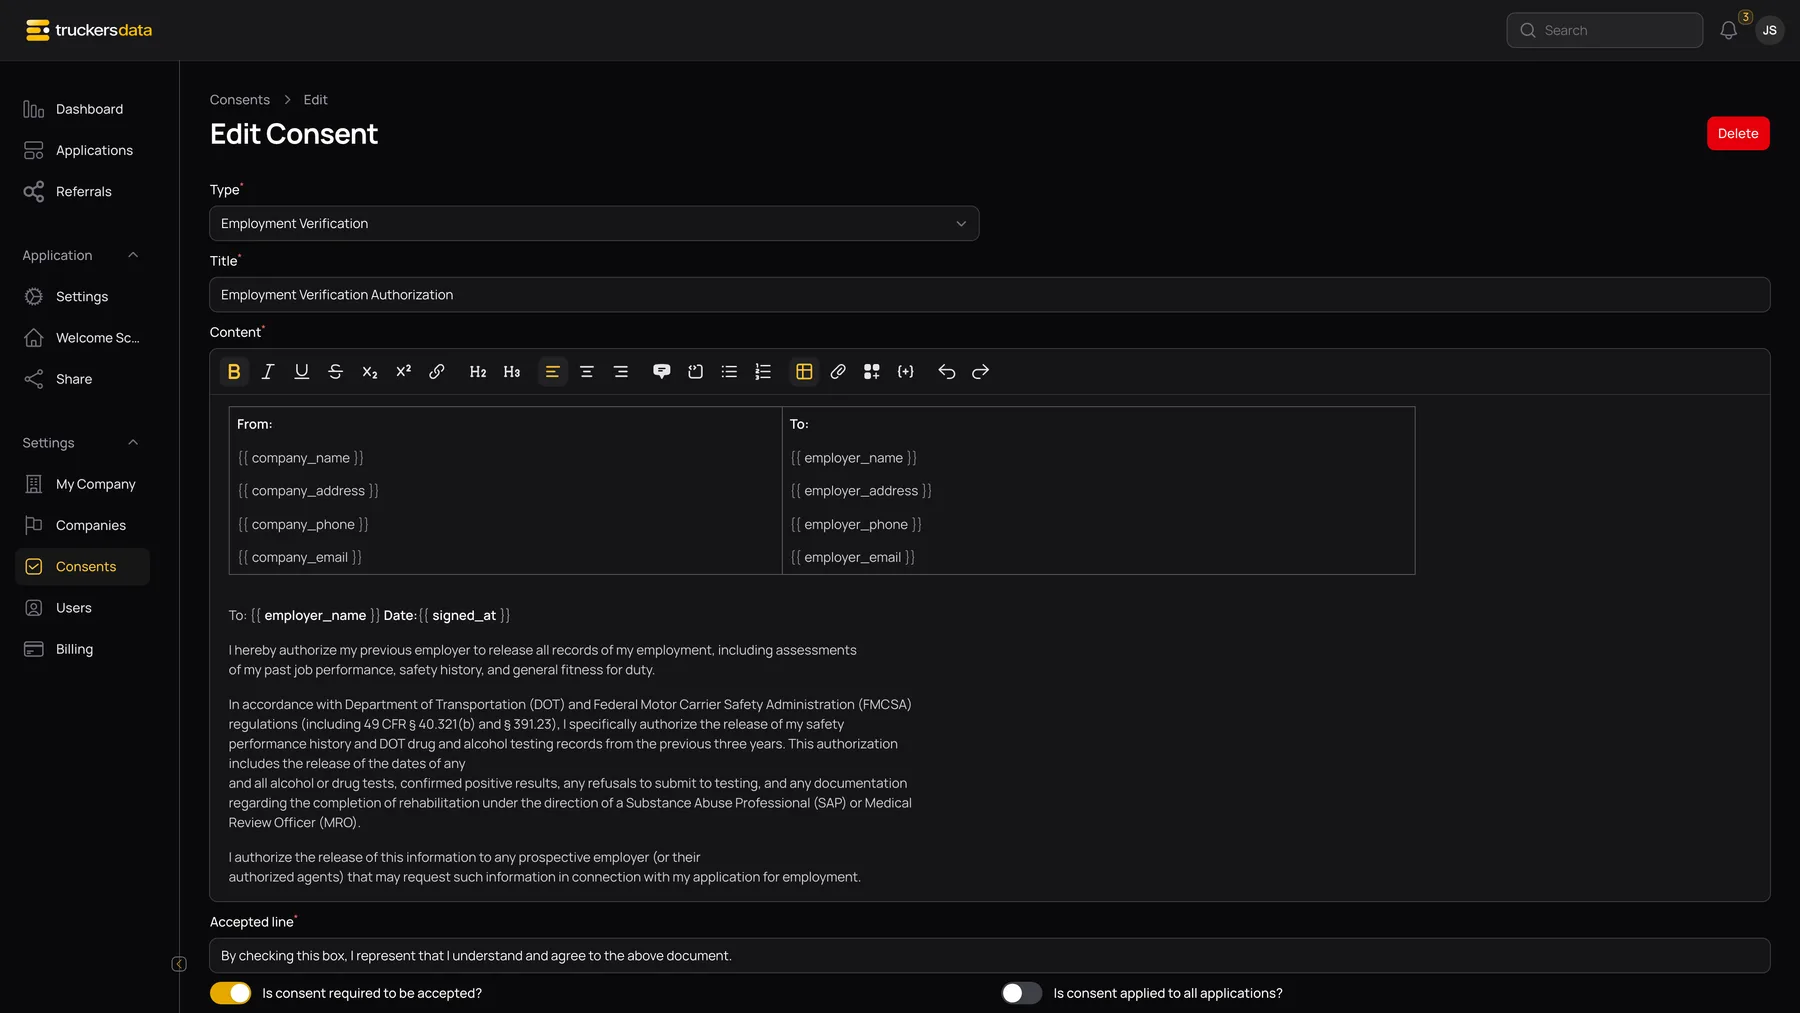
Editor toolbar controls
The toolbar uses icons. Hover over an icon on desktop or focus it to read its label. Apply text formatting to a selection; insert new content at the cursor.
| Control | Effect |
|---|---|
| Bold / Italic / Underline / Strikethrough | Toggle emphasis on selected text or on the next text you type. |
| Subscript / Superscript | Place selected characters below or above the normal text line. |
| Link | Set a URL for selected text; the dialog also lets you choose Open in new tab. |
| Heading 2 / Heading 3 | Turn the current paragraph into the selected heading level. Use headings for document sections. |
| Align start / center / end | Change the current block’s text alignment. |
| Blockquote / Code block | Apply quote or preformatted-code presentation to the selected block. These are formatting controls, not consent logic. |
| Bullet list / Ordered list | Create an unordered checklist-style list or a numbered sequence. |
| Table | Insert a table; use the table’s available row/column controls to edit its structure. |
| Upload file | Insert a supported image in the document body and supply Alt text. This is separate from the Custom PDF attachment field. |
| Custom blocks | Choose Page break or Signature, then use Insert; an existing block can be reopened and saved. |
| Merge tags | Insert a personalized placeholder at the cursor. |
| Undo / Redo | Step backward or forward through unsaved editor changes. These do not undo an already saved consent version. |
Insert a merge tag instead of typing a test name
A merge tag is a placeholder that fills with details from the current application when the document is displayed or generated. Open the editor’s merge-tag control and choose the field you need. For example, use applicant_name rather than typing John Davis into a document that should work for every applicant.
| Merge tag | Filled from |
|---|---|
| applicant_name | The applicant’s full name. |
| company_name, company_email, company_phone, company_address | The company receiving this application. Company address combines its stored address details. |
| ip | The address recorded with the final signature. |
| signature | The applicant’s stored signature image. |
| signed_at | The recorded signing date and time, formatted for the application company’s time zone. |
| dob, ssn | The applicant’s birth date and Social Security number. Masked document versions hide part of these values. |
| employer_name, employer_address, employer_email, employer_phone | The employer for the particular employment authorization being rendered. |
| employer_position | The position recorded in that employer’s employment-history entry. |
| employer_from, employer_to | The employment-history start and end month/year for that employer. |
Employer tags need an employer context. Use them in Employment Verification documents; a general document without an employer context should not depend on those tags for essential wording.
Add the Signature block
Use the editor’s custom-block control to insert Signature. The block produces a signature area containing the saved signature image, the applicant’s full name, and signing date, with Applicant’s Signature and Date labels. Its configuration dialog does not need extra field values.
This block displays a signature collected later in the public flow; it is not a separate signing pad inside the consent step. The applicant draws the signature on the final Sign here screen. The block can therefore be blank or incomplete while you are previewing an unsigned application.

Add a Page break block
Insert Page break before a section that should begin on a new printed page. It adds a page-break marker to the rendered document and generated PDF. The block’s configuration dialog has no additional settings.
A page break controls document layout. It does not make another consent, create another Agree checkbox, or add a new step to the application wizard. If two documents need separate acceptance decisions, create two consent records instead.
Check personalized output before publishing
- Use a test application with complete applicant and company details.
- For an employment document, add an employer with name, contact details, position, and dates.
- Open the public consent stage and confirm that the correct person and company appear.
- Complete a signed test submission and inspect the stored consent file.
- Check the normal and restricted-data viewing experience with appropriately configured staff accounts.
Documents and embedded PDF pages retain their white paper background even when the application is in dark theme. This helps distinguish the printable document from the surrounding app controls.
